This is an article highlighting how i stumbled onto a use case on expanding upon the KPLC API to build a better reporting tool for consumers.
For more on how I came up with this idea. Check out How I built an Electricity Tracker for fun and (not) profit
Introduction
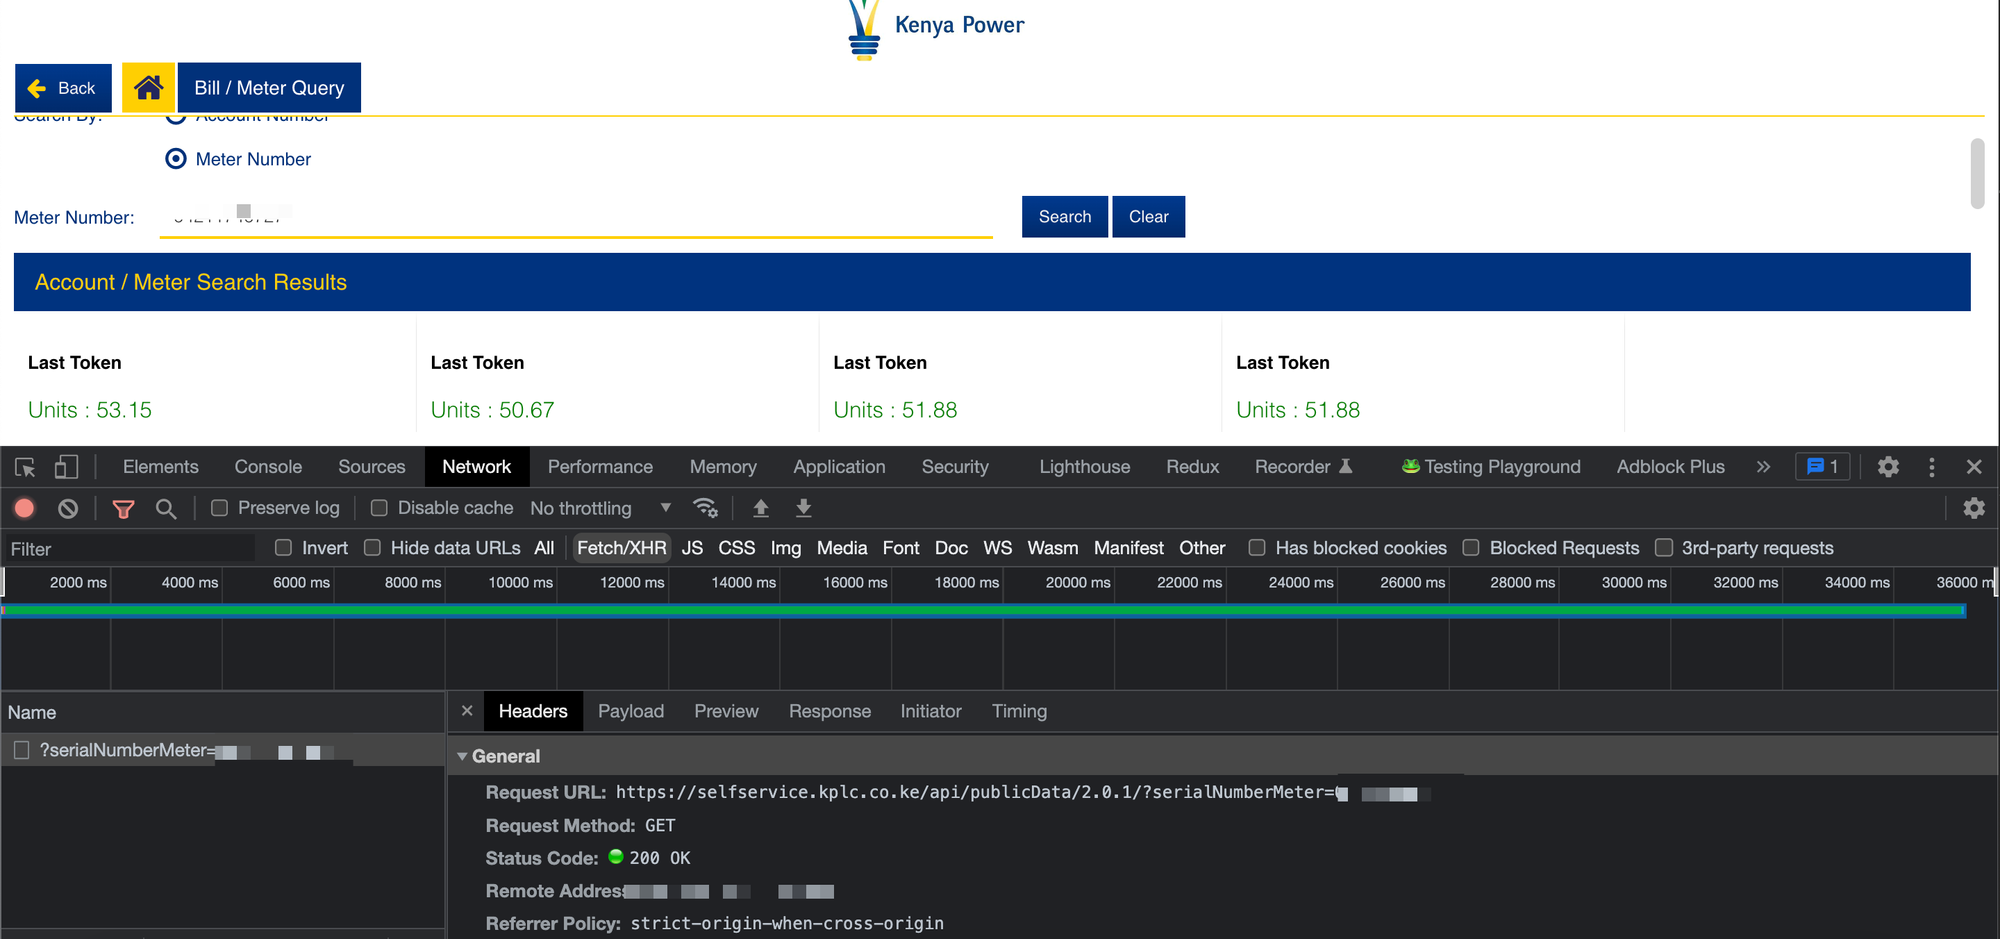
I discovered there was part of the Self Service Portal doesn’t show the full results on the UI. Being a curious developer i peeped onto the network tab and found out that they are returning more transactional data than what was shown. I decided that it would be a fun try to use the API to get the data directly.
Inspecting the KPLC API
If you Inspect the Network tab on your Devtools as you make a request you’ll discover the Request URL that is https://selfservice.kplc.co.ke/api with your serial number meter as the query param you’ll be able to get a result.

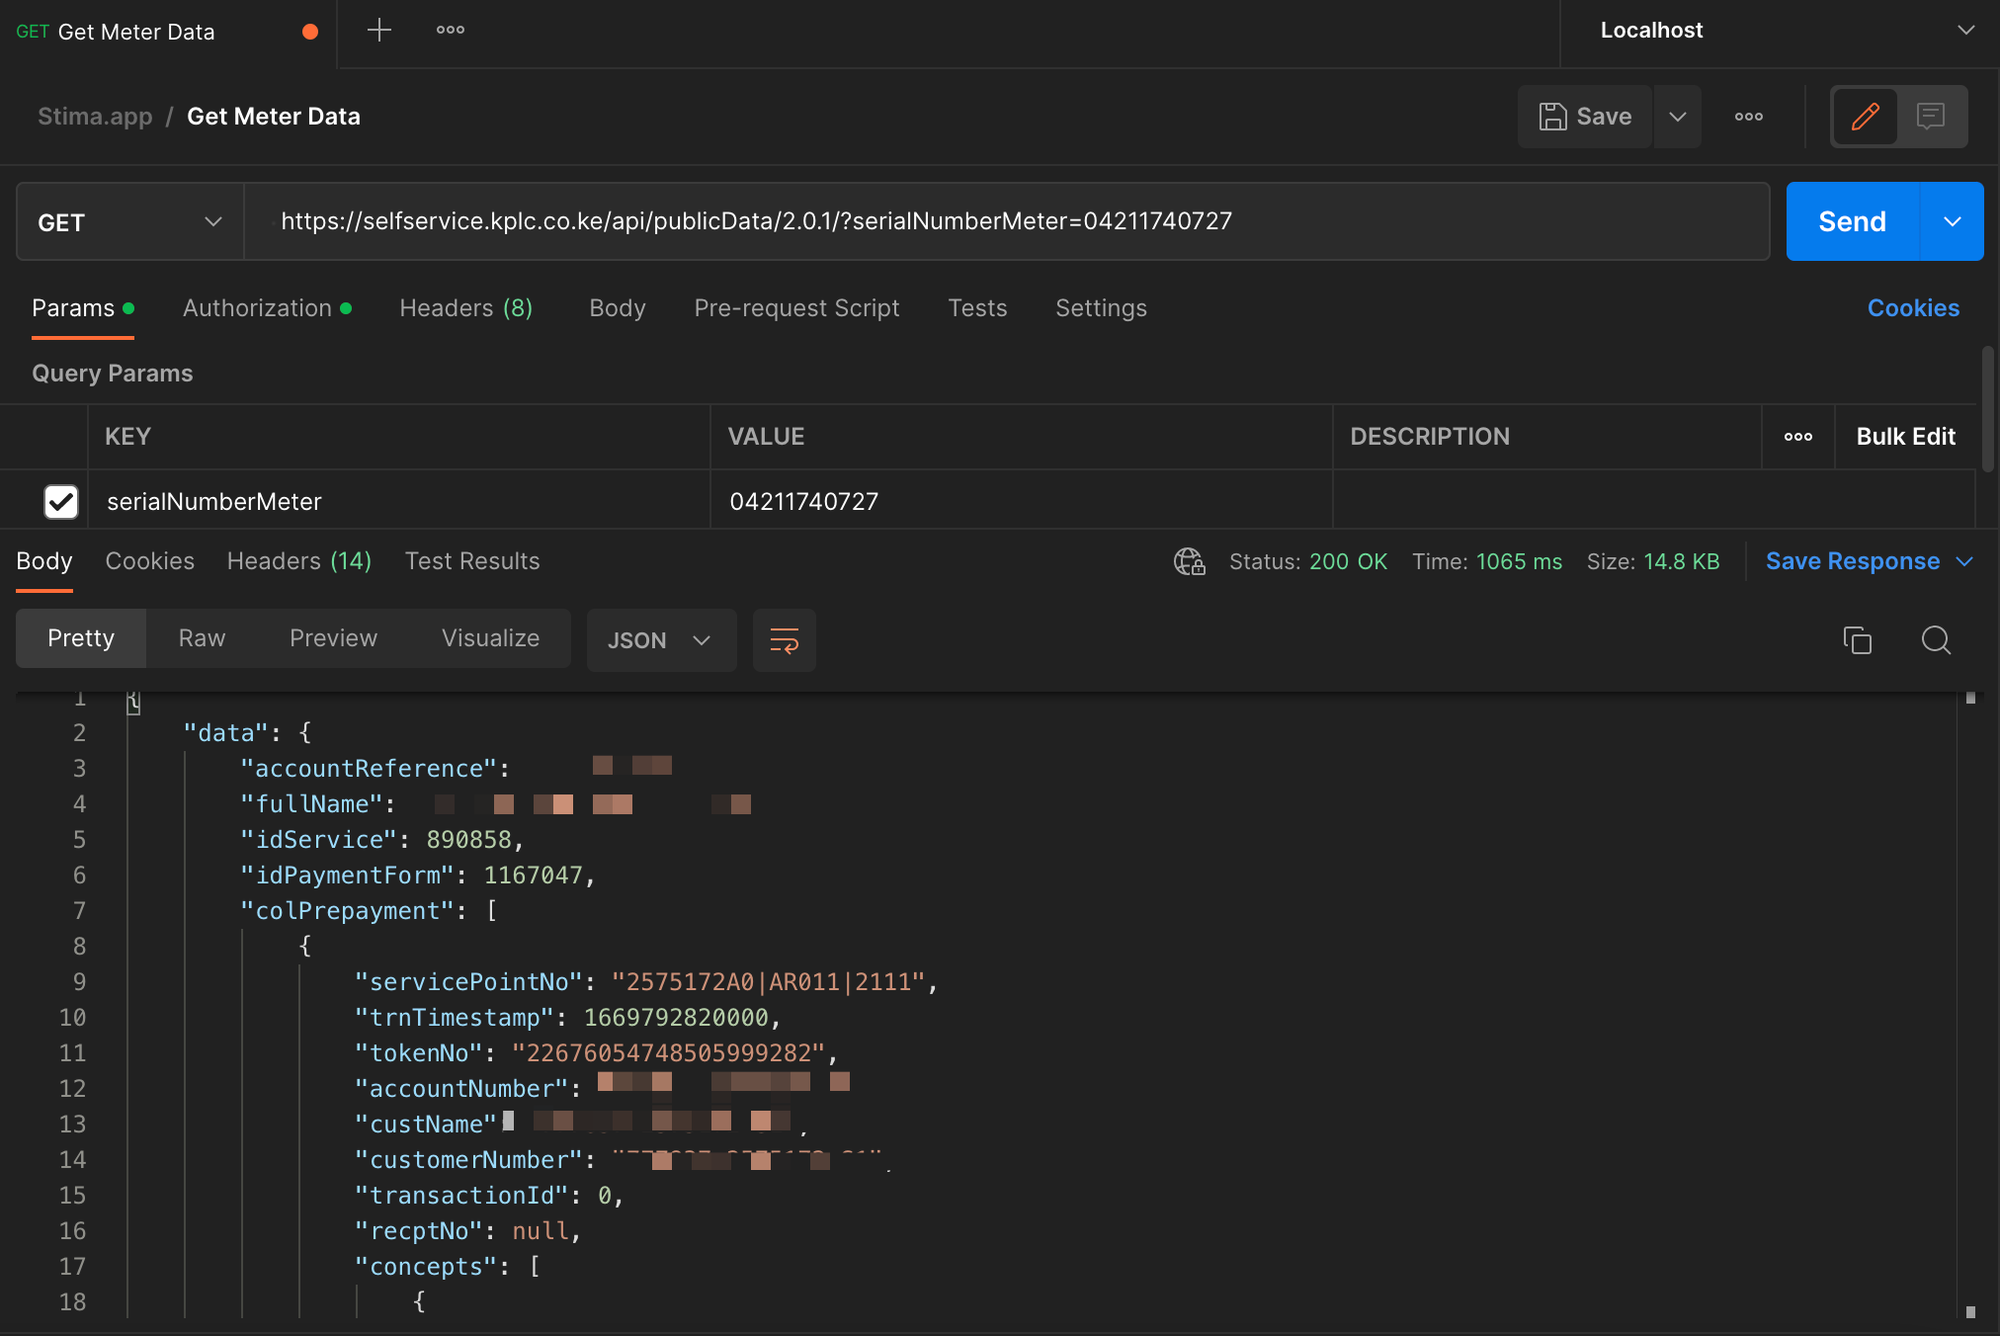
The Request headers include a bearer token which when you check out using Postman you’ll find quite the bit of data included in it.

I wasn’t really aware of the filters on how far back the data is fetched from but it was enough to work with ~6 months. I decided to use Puppeteer to build out the Automation.
Why I chose Puppeteer
Puppeteer is a Node.js library that provides a high level API to control Chromium. It runs on headless mode by default. The KPLC API is currently authenticated using a Bearer token. It would be ideal to use browser automation since we’ll be quering the API directly from the UI like a normal user would do so. Despite this being slower at the time i believed it would be the safest way of consuming the API without it being perceived as abuse.
Starting off
To start off with Puppeteer you’d have to launch the browser in headless mode so that you can navigate to the Bill / Meter Query Page
// Start Puppeteer
const browser = await puppeteer.launch({ headless: true });

// Open New Page
const page = await browser.newPage();

// Navigate to KPLC Self Service Portal
await page.goto(KPLC_URL, {
      waitUntil: 'load',
      timeout: 0,
});
Navigation
To begin navigation you would need to wait until all the elements have loaded on the page. You can decide to select the any selector id to validate this
await page.waitForSelector('#button-{ID}');
We intend to navigate to the
Bill/Meter Query link.
You can initiate a click on the link using
await page.click('#{LINK_ID}');
Inputting the Meter Data at the Query Page
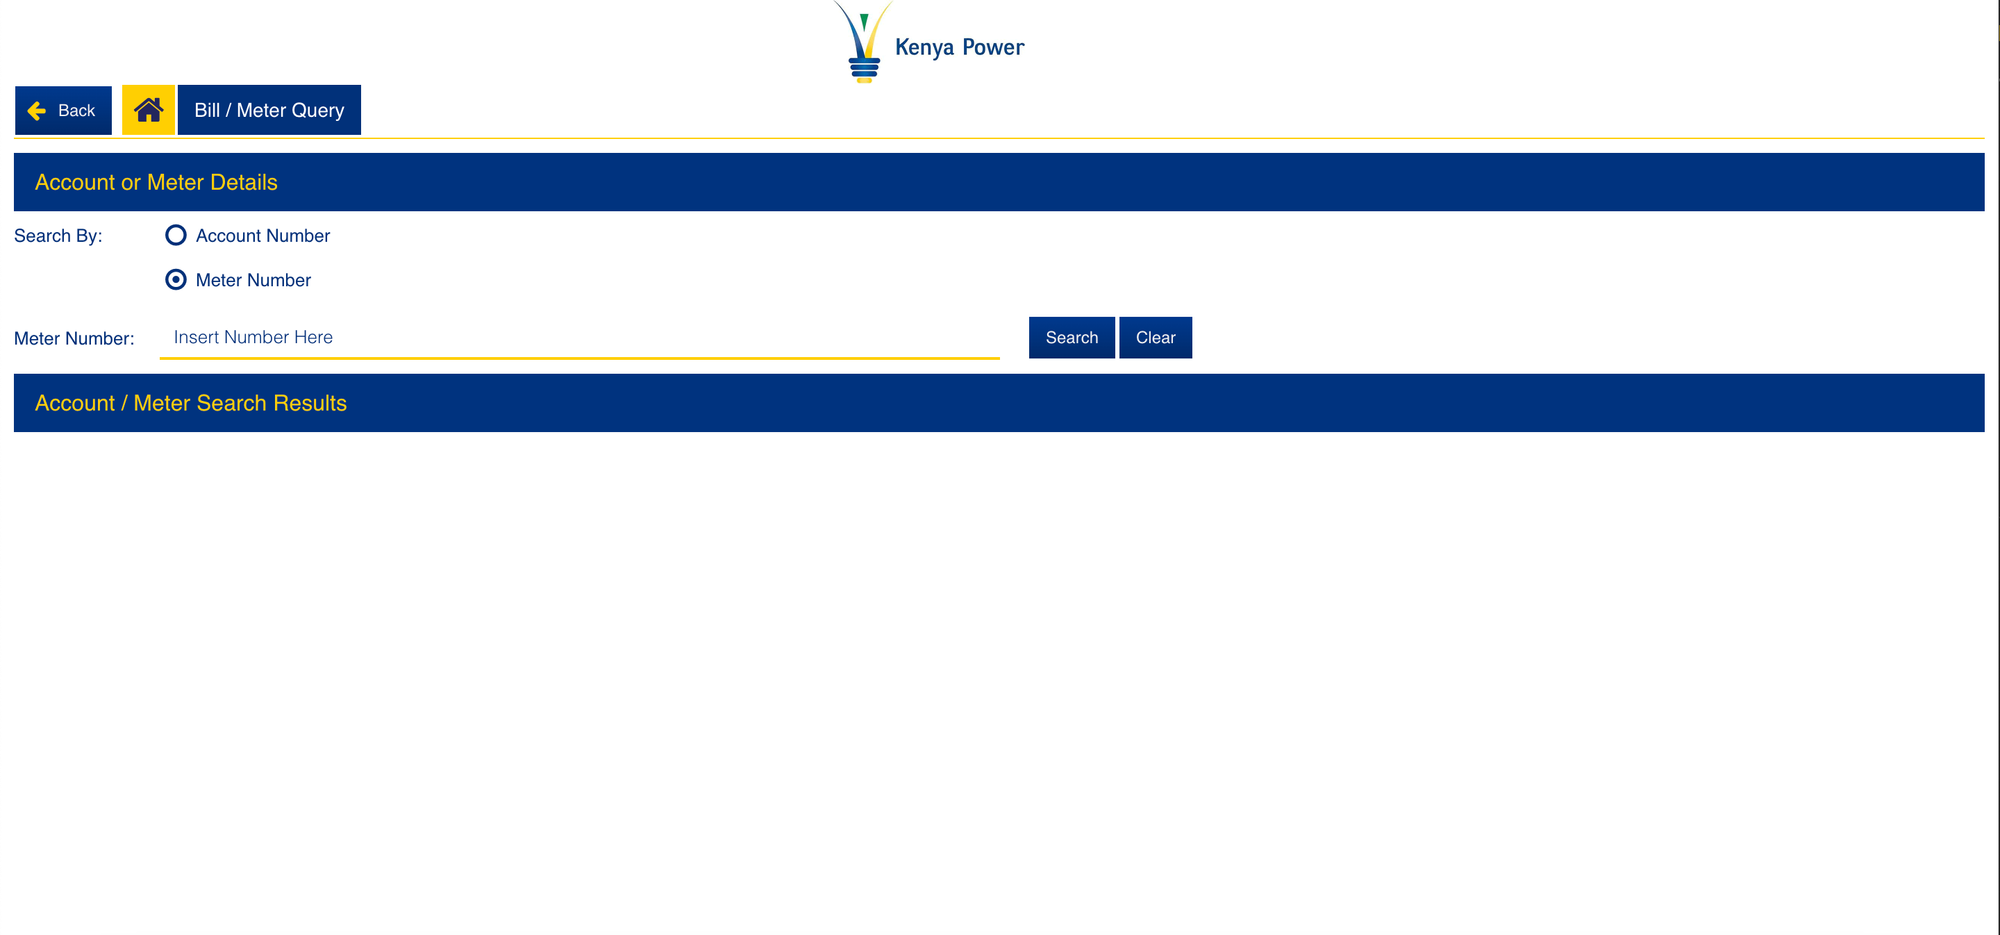
At the query page you’ll arrive at a form where you can input the data.

Using Puppeteer this will go like
//Select Meter Number Option
await page.click('#{RADIO_BUTTON_ID}');

//Type Meter number
await page.type('#{TEXT_FIELD_ID}', YOUR_METER_NUMBER);

// Submitting the Request by clicking the search button
await page.click('#{SEARCH_BUTTON_ID}');
Getting the Response Data from DevTools
You can listen in on the page response data if the url includes the
KPLC_URL to get the json directly.// Listen on network response page.on('response', async (response) => { if ( response .url() .includes(KPLC_URL) ) { const json = await response.json(); // WOOHOO ! GOT THE DATA } });
Data Cleanup
You’ll notice the data could contain some unnecessary/sensitive info (name,servicePointNo) so you can build out your own model of what you intend to get back from your API.
Conclusion
After discovering the above i was able to validate that Puppeteer is a really helpful tool for browser automation and in future plan to use the same for hobby projects rather than E2E Testing for web applications.

